
Header
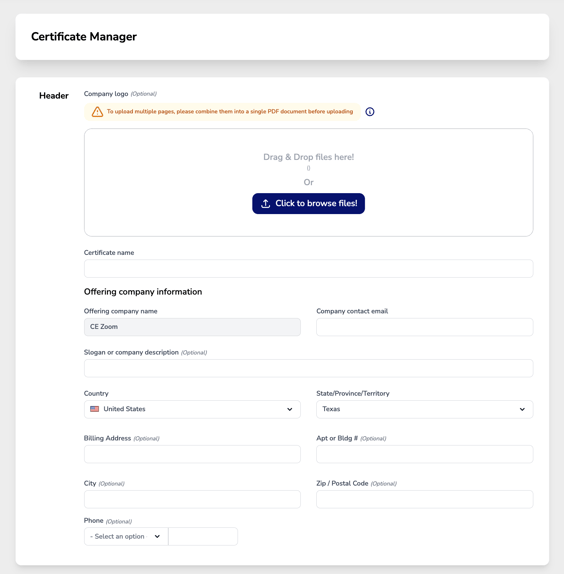
- Company Logo (Optional) – Upload your company logo.
- This will appear in the upper left of your CE Certificate
- Certificate Name – Enter the name of the certificate you are creating.
- This field is for internal use only to help you easily identify the certificate when attaching it to a course.
- Choose a clear and descriptive name that aligns with the elements included in this certificate, such as provider approvals, course type, or year.
- Using a structured naming convention ensures you can quickly find and apply the correct certificate to your courses.
- Offering Company Name – This is auto-filled with the company name on the CE Zoom Company Account.
- Company Contact Email – Enter the contact email for inquiries related to the certificate.
- Slogan or Company Description (Optional) – Add a tagline or a brief description of your company.
- Country – Select your country (e.g., United States).
- State/Province/Territory – Choose your state (e.g., Texas).
- Billing Address (Optional) – Enter the official billing address if needed.
- Apt or Bldg # (Optional) – Add a suite or apartment number if applicable.
- City (Optional) – Enter the city of your company’s location.
- Zip/Postal Code (Optional) – Provide the postal code.
- Phone (Optional) – Select the appropriate phone number option for contact.