CE Zoom makes it simple to issue course certificates that are tailored to each course and automatically personalized for every participant. Once set up, certificates are generated and digitally distributed straight to the participant—saving you time and ensuring your attendees get their documentation without the extra work.
How to create a Course Certificate in CE Zoom
- Log in to your CE Zoom company account (www.cezoom.com)
- Two access points to create a CE Certificate
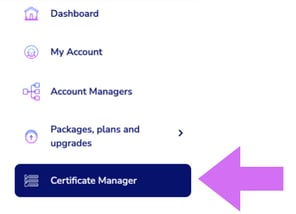
- From the Navigation Menu, click on Certificate Manager
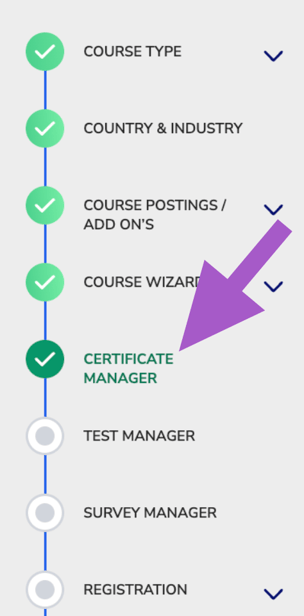
- From inside the course wizard, navigate to the Certificate Manager step
- From the Navigation Menu, click on Certificate Manager
- Click Add new certificate +
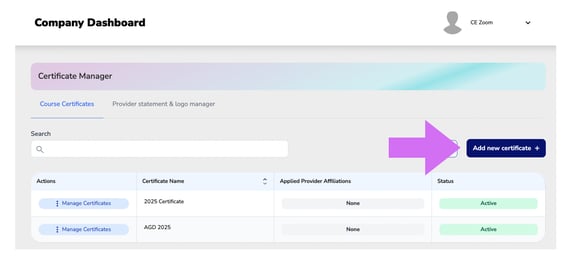
- Fill out the form to create your custom certificate:
Header
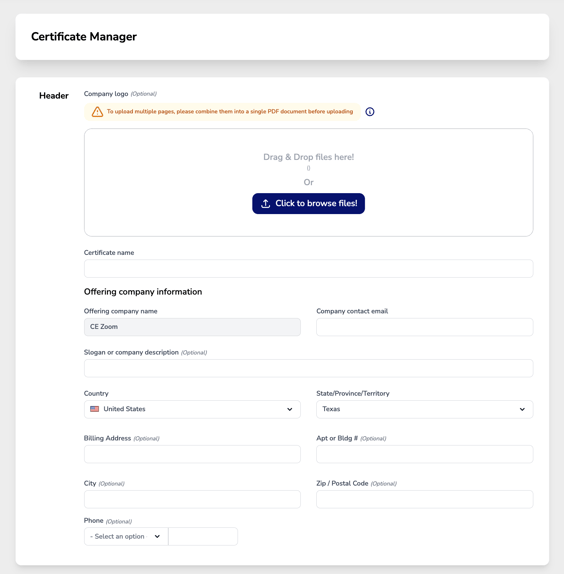
- Company Logo (Optional) – Upload your company logo.
- This will appear in the upper left of your CE Certificate
- Certificate Name – Enter the name of the certificate you are creating.
- This field is for internal use only to help you easily identify the certificate when attaching it to a course.
- Choose a clear and descriptive name that aligns with the elements included in this certificate, such as provider approvals, course type, or year.
- Using a structured naming convention ensures you can quickly find and apply the correct certificate to your courses.
- Offering Company Name – This is auto-filled with the company name on the CE Zoom Company Account.
- Company Contact Email – Enter the contact email for inquiries related to the certificate.
- Slogan or Company Description (Optional) – Add a tagline or a brief description of your company.
- Country – Select your country (e.g., United States).
- State/Province/Territory – Choose your state (e.g., Texas).
- Billing Address (Optional) – Enter the official billing address if needed.
- Apt or Bldg # (Optional) – Add a suite or apartment number if applicable.
- City (Optional) – Enter the city of your company’s location.
- Zip/Postal Code (Optional) – Provide the postal code.
- Phone (Optional) – Select the appropriate phone number option for contact.
Course Attendance Verification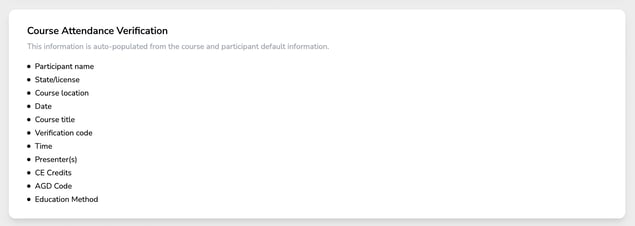
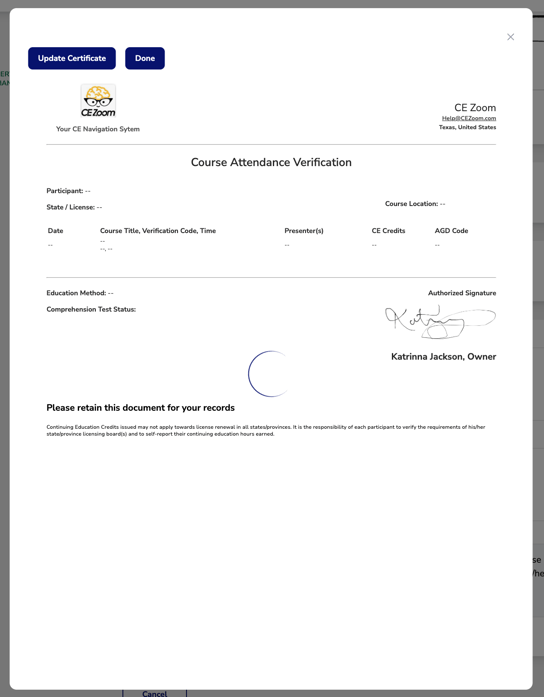
- This section cannot be manually edited. All fields are auto-filled based on the course details and the professional receiving the CE. This ensures that each certificate is 100% specific to the attendee, preventing blank or generic CE certificates.
Signature
If you want to include a signature on the certificate, select the checkbox to expand the signature options. You must:
If you prefer not to add a signature, simply skip this section, and the certificate will be issued without one.
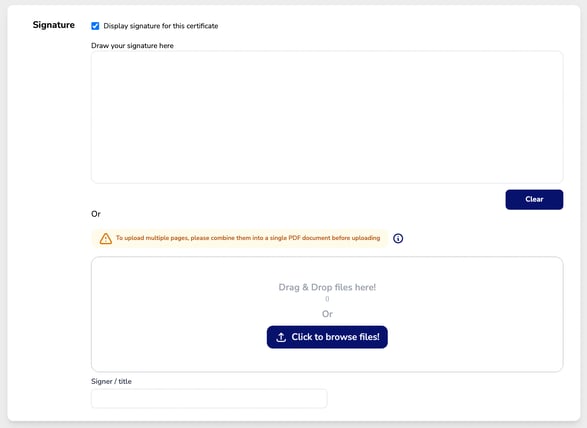
- Draw your signature directly in the provided space or upload a signature image
- Enter the signer’s name and title (mandatory if a signature is added).
Provider Statement & Logo
If you have provider approvals that you would like CE Zoom to automatically manage on your certificate, select the checkbox to enable provider statements and logos on the certificate. (Navigating & Using the Provider Statement & Logo Manager on CE Zoom)
If provider approvals are not needed, simply skip this section, and no provider statement or logo will be added to the certificate.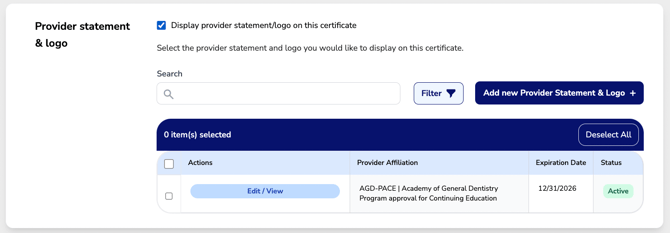
- Choose all active provider approvals you want displayed.
- Only active provider approvals will be available for selection. (How to update the provider status)
- If a provider approval has expired, you can edit and renew it to make it active again. (How to renew your provider approval)
- If you need to add a new provider approval, click "Add New Provider Statement & Logo" to input the necessary details. (How to add a new Provider statement & logo)
Additional Images
If you want to add extra images to your certificate, such as sponsor logos or other relevant graphics that are not your company logo or automatically managed provider approval logos, select the checkbox to enable additional images on the certificate 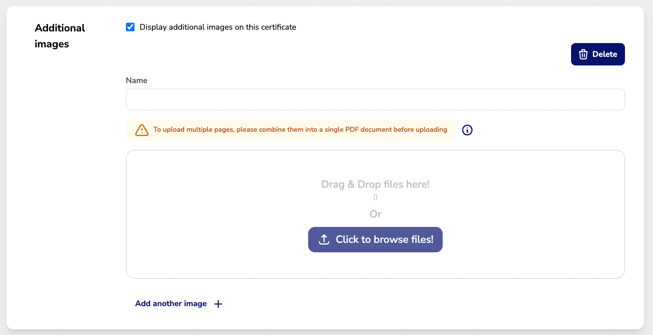
- Enter a name for the image to help identify it.
- Upload the image file
- Click "Add another image" if you need to upload multiple images.
Additional Information (optional)
This section allows you to include optional statements and important disclaimers on your CE certificate.
Use this section to ensure compliance with regulatory requirements and provide transparency to attendees. 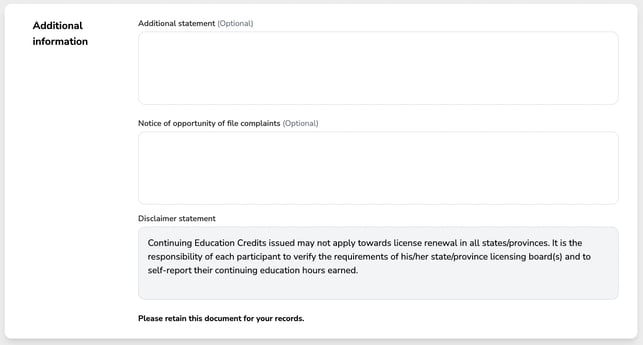
-
Additional Statement (Optional) –This field allows you to add any additional information relevant to the course or certification.
-
Joint Provider Courses – If your course is offered in partnership with another provider and the joint provider statement is not being managed by a specific joint provider approval, this is the perfect place to include that statement.
-
Use this section to ensure all necessary information is clearly communicated on the certificate.
-
-
Notice of Opportunity to File Complaints (Optional) – If applicable, provide details on how participants can file complaints regarding the course.
-
Disclaimer Statement (Required) – This field is pre-filled with a disclaimer clarifying that CE credits may not apply to all licensing boards and that attendees are responsible for verifying and reporting their hours. If any additional disclaimers need to be added please add under the additional Statement iput field.
Preview 
Preview – Click this button to view the layout of your CE certificate before finalizing.
⚠️ Mandatory Fields Check – If any required fields are incomplete, the system will not allow you to preview the certificate.
-
- Missing fields will be highlighted in red.
- A warning message will appear to indicate what needs to be completed before proceeding.
- Ensure all required fields are filled
Cancel – Select this if you want to discard changes and exit without saving.
Update or Finalize
- If any changes are needed, click "Update Certificate" to make edits.
- Note: All Course Attendance Verification data will appear blank in the preview. This is because the certificate has not yet been attached to a course or an attendee's verified details. Once assigned, the system will automatically populate this information.
- If everything looks correct, click "Done" to save your CE certificate.